Understanding Aspect Ratio
 Family Travel Photographs.com provides the following travel photography tutorial for photography and family traveler enthusiasts.
Think About How You Will Use the Photos As You Shoot
Understand how aspect ratio affects what you can do with your pictures
As you develop your skills as a photographer, you will consider many different things as you shoot your pictures. You'll think about composition, for example. Things like the rule of thirds, leading lines, following the subject's eyes . . . all of those are rules that a good photographer keeps in mind as he or she works.
One such consideration, and one that many photographers overlook, is driven by how you plan to use the photos once they're taken. Will you make regular sized prints of them? Create 8x10 enlargements? Print poster size photos or panoramas?
What does it matter, how you plan to use the pictures, at the point where you're taking them?
The reason is, different types of pictures are all different shapes. Usually - but not always - the photos you print and use will be rectangular. That said, not all rectangles are equal. Consider these two rectangles:

Both are rectangles and both are the same width, but it's clear they aren't the same shape.
We define a rectangle's shape by comparing the height and width. This is a ratio, heighth to width. When you get an enlargement you establish this ratio without a thought. You order an 8x10, for example. That's 8 inches tall by 10 inches wide, or 8x10 - or expressed mathmatically, 8:10. Photographers refer to this as the aspect ratio of the image.
Now, let's talk about the different sizes of pictures that you typically order. They might include:
- 4x6
- 5x7
- 8x10
- 11x14
Lets reduce these down so we can compare them more easily. We will reduce these ratios to 1 inch so we can see how they match up.
- Divide both sides of the 4x6 by 4 so we can get it down to a one inch ratio. That comes out to 1x1.5, or expressed as a ratio, 1:1.5
- Divide both sides of the 5x7 by 5. That comes out to 1x1.333 or 1:1.333
- Divide both sides of an 8x10 by 8. That gives you 1:1.25
- Divide both sides of an 11x14 by 11 and you get 1:1.273
When you get up to 16x20, that's 1:1.25 - same as an 8x10. An 18x24 print has the same aspect ratio as the 5x7.
Until you get into those very large prints, however, each size of picture we normally order is different than the other.
 The typical aspect ratio of a digital camera's pictures is 1:1.5, the same as a 4x6 print. When you have a regular print made from your photo, you see the entire picture. However, when you print a 5x7, that's only 1:1.333 - so the printer must cut off a portion of the image to make it fit the smaller ratio (1.333 is smaller than 1.5). When you print an 8x10, that's an even smaller aspect ratio of 1:1.25. We're getting closer and closer to it being a square, aren't we? That means the printer must cut off even MORE of your original photo to make it fit.
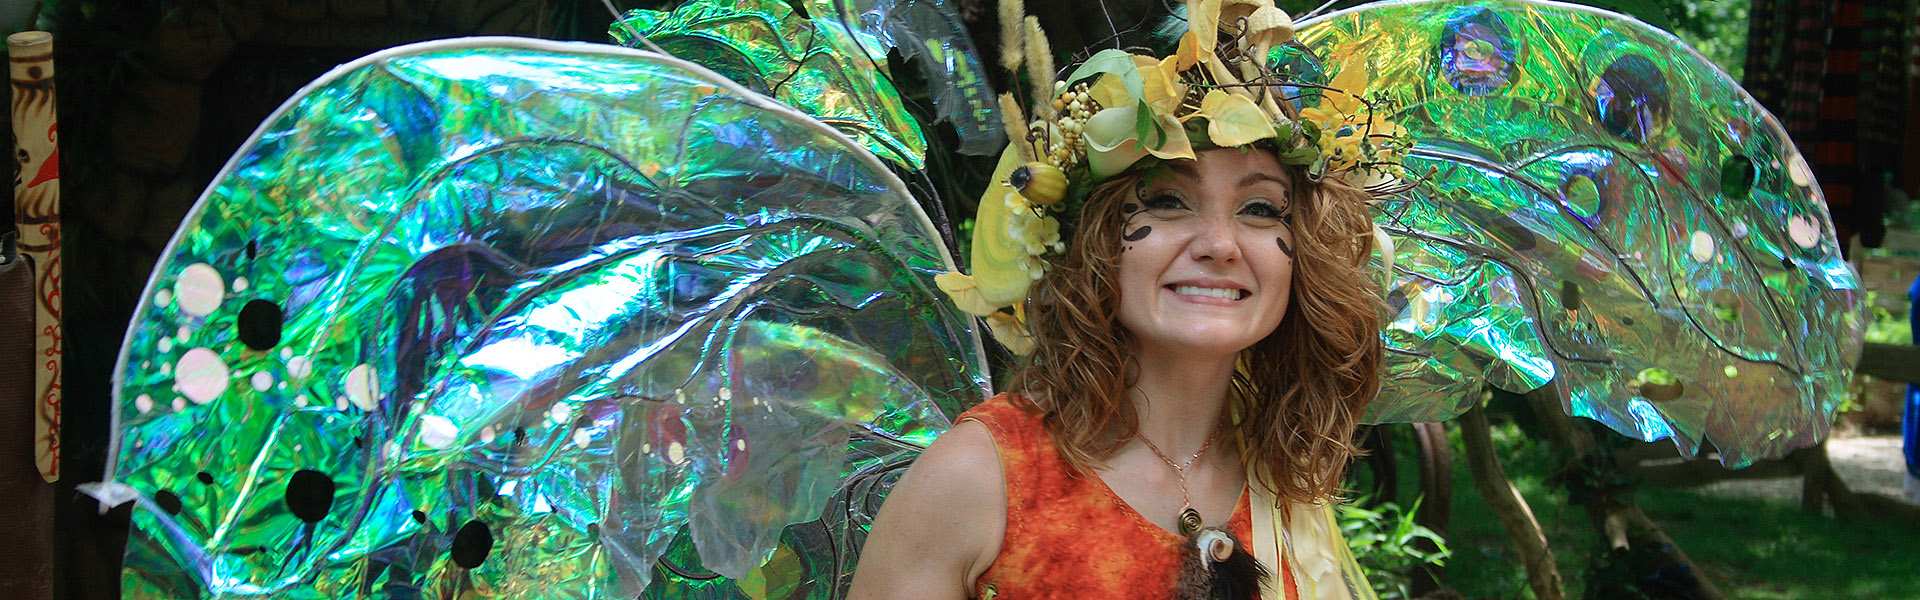
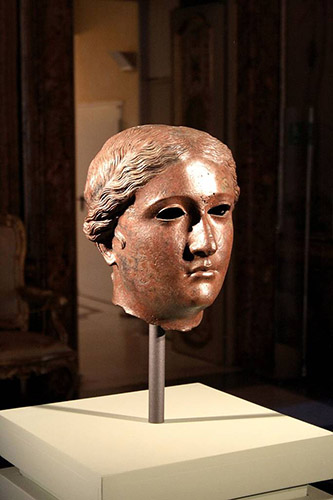
Have you ever gone to a portrait studio? When you're viewing the proofs, did you notice that the photographer left a big gap at the top above your head? (You can see what I'm describing in the photo to the right.)
The photographer did this on purpose. He or she planned that you would be printing enlargements, and left a section of the photo to be cut off without removing any of the actual subjects. Think if they hadn't done that, if they'd filled the frame with the subject. When it came time to print enlargements, they'd have to cut off a portion of the subject's body to make it fit. Photographers make their money from selling enlargements, not regular size prints. They plan for the end use when they shoot the pictures.
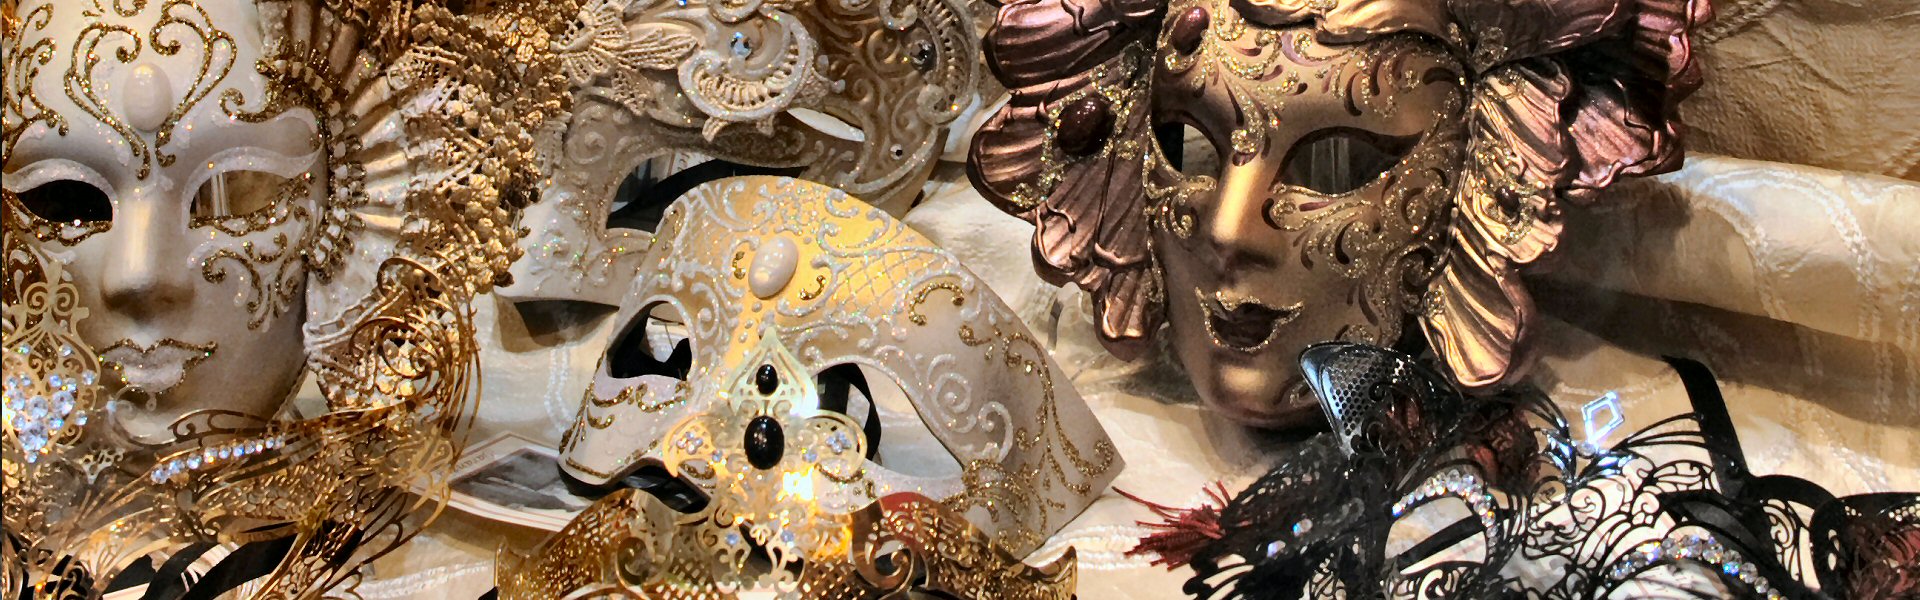
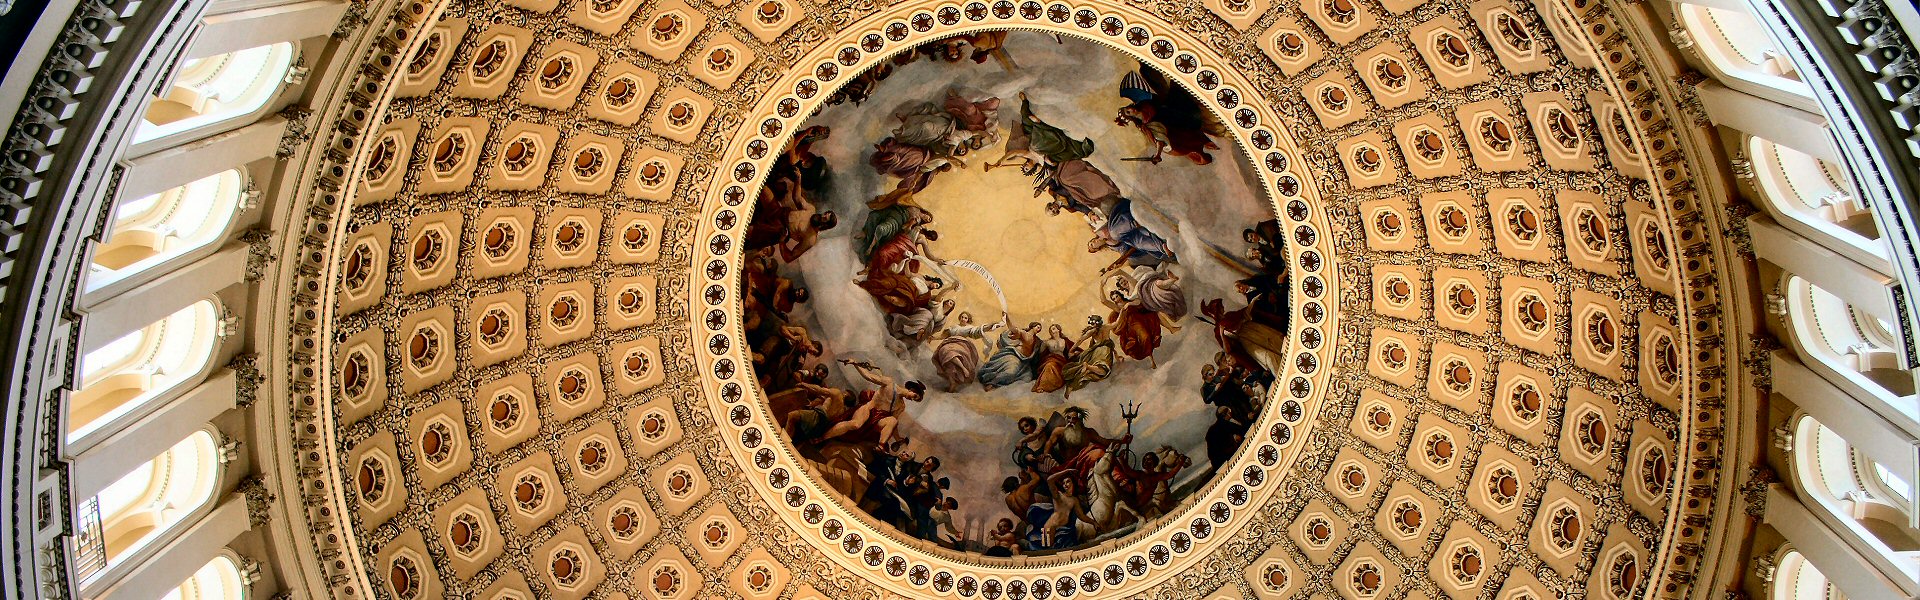
Take a look at this photo:

I love this picture, shot in Venice's St. Mark's Square. I'd love to be able to print it as an 8x10, but I can't. Why? I have to crop the image to fit the width of the 8x10 and there isn't any room on either side of the palace for me to cut off, is there. The only way I could print this as an 8x10 would be to leave white space at the top and/or bottom of the photo so the full width of the image could be included. (In fairness to me, the original picture needed significant perspective correction and that process crops the image. I got the perspective looking better in the final image above, but sacrificed cropping space to accomplish it.)
This is what happens when you don't think about how you plan to use your photos as you shoot them.
Planning ahead for panorama photos is even more critical than for other types of shots. I've provided a separate tutorial on creating panoramas so I won't repeat all that here. Read the panorama tutorial to learn more about these types of photos.
Hopefully by this you understand what aspect ratio is and how it affects what you can do with your pictures. Now let's talk about how you plan all that into your photography.
Obviously you can't point your camera and think "this one will be an 8x10" and compose each shot accordingly. What you can do is shoot multiple shots with differences in composition to give yourself the flexibility. If you think you might want to print enlargements of what you're shooting, instead of shooting one picture of a scene, shoot one or two with the frame filled and then a couple more with varying amounts of "empty space" to one or both sides. Don't fill every photo from edge to edge with your subject matter. Conversely, be sure to shoot some of your shots where you DO fill the frame as they will serve you better for regular sized prints.
When we were working with film, it cost money to shoot more pictures. In the digital age there is NO excuse to scrimp on your pictures. If you shoot 4GB of pictures on an 8GB card, those unused 4 GB of card space won't do a THING for you. Take extra shots with varying zooms to give yourself the flexibility when it comes time to print.
The message of this tutorial is - understand that different types of prints come in different shapes, and be sure to shoot a variety of photos to support whatever you think you'll want to print later on.
Please help me get more visitors to Family Travel Photos.com!