
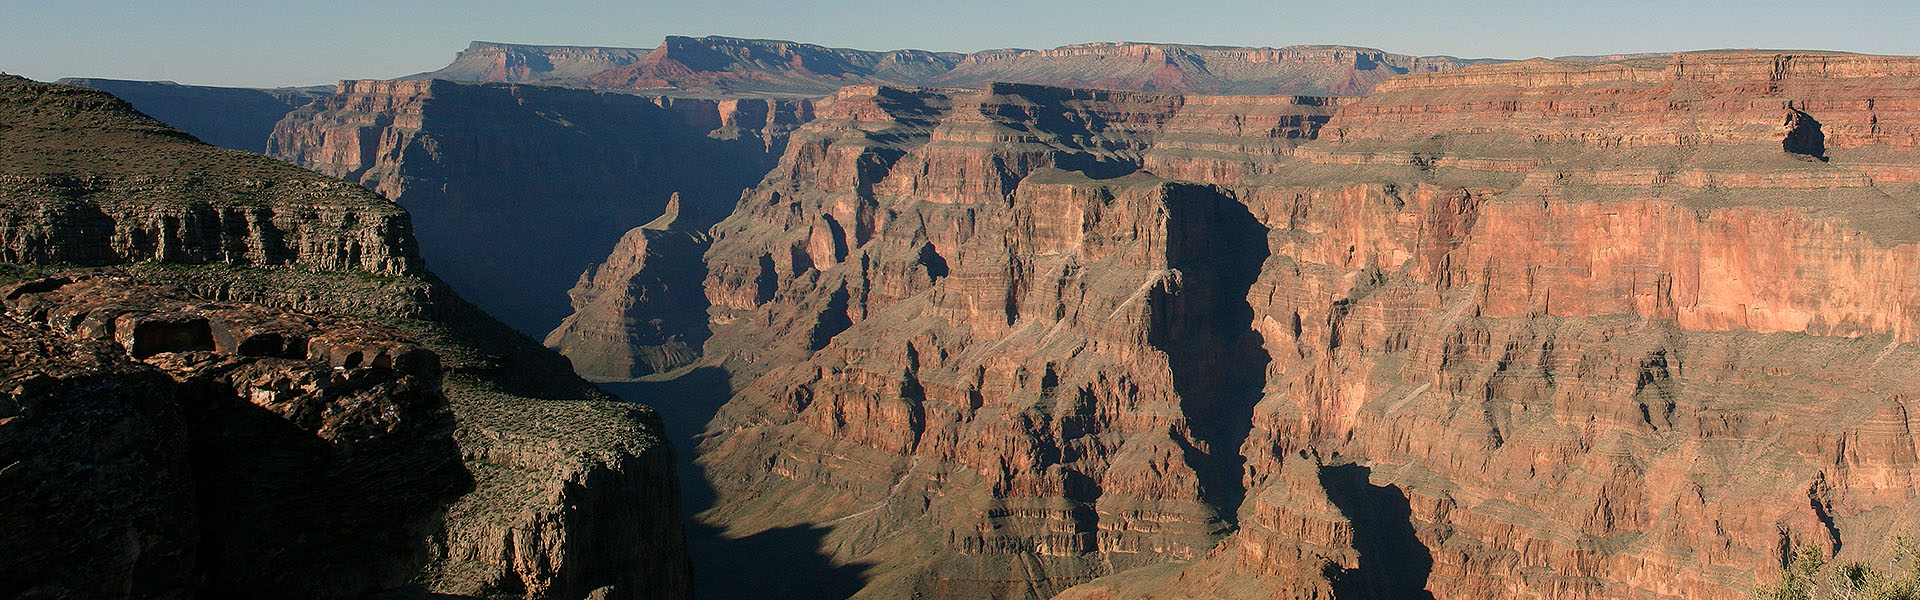
Taking the Wide View: Panoramas
 Family Travel Photographs.com provides the following travel photography tutorial for photography and family traveler enthusiasts.
STEP 5: WHAT DO YOU DO WITH PANORAMAS?
Framing ideas, scrapbooks, web pages and more
Once you’ve created your panorama, you can edit it as you would any other picture file. After that, the question becomes what to do with the picture?
Printing
The first challenge is printing a panorama. Panoramas are less standard sizes than your regular prints or enlargements. You have to find a printing company that can print what you want.
There are several good online printing companies. Snapfish, Nations Photo Lab, and MPix are three services I’ve used successfully. These services offer a wide selection of printing sizes to do your panorama. Professional photographers use these services so you know you get good qualiy photos from them.
Let me save you some money. Get on the list for receiving their newsletters for all three companies; you will receive weekly discount offers and save a bunch of money on your prints. Getting on email lists is often a waste of time; in this case, though, you can save a LOT by getting their emails.
By the way, all of these services offer photo books. You can design and lay out your books and then have them printed and bound. I can tell you from experience that these books are great quality and lots of fun - and a great way to display panorama photos. Did you sign up for the email newsletters? Hope so - you'll get 30 - 50% discounts for printing books every month or two.
Here’s another idea to save you some money for printing. Let’s say you have three panoramas you want to print at 20 inches wide. Instead of ordering three enlargements at 20” x whatever, try creating one big empty image that is sized to print at 20” wide by 16” tall – a standard size. Then, in that blank image, you bring in all three of your panoramas. When it’s printed as a 20 x 16 enlargement, you can cut the panoramas apart and make three photos out of one.
A couple limitations to that idea. Obviously, the height of the three panoramas combined would have to be less than 16” when printed at 20” wide. Second, the width of your combined image would have to be the size of your SMALLEST panorama. For example, let’s say your panoramas are 10,000, 11,000 and 11,500 pixels wide respectively. If you put them all on that one image, they ALL will have to be 10,000 pixels wide so they all print the same width as part of one image. That means you’ll have to size down two of the three panoramas to fit the width of the smallest panorama. Ideally you want every pixel you can get so it sucks to give some up, but realistically you won’t see the difference unless you really cut back the size of the panoramas.
Remember when I said that the advantage of creating panoramas with multiple images was that you ended up with a really big file? If it’s a big file you can print it big, and if it’s a big file you can size it down a bit without really sacrificing quality.
You can use a variation of this to make use of conventional frame size. Put your panoramas into an image that is standard size, and frame it as one image when it’s printed. The nice thing about this is you can add captioning, titles, background colors, etc. and create a very cool print that fits in a standard frame.
A third option – Put ONE panorama into a file that is size in a conventional size. A large area of the image (top and bottom, or left and right) will be blank (or a colored background if you create it that way). You can then frame the standard size and the plain background functions as a mat around the panorama.
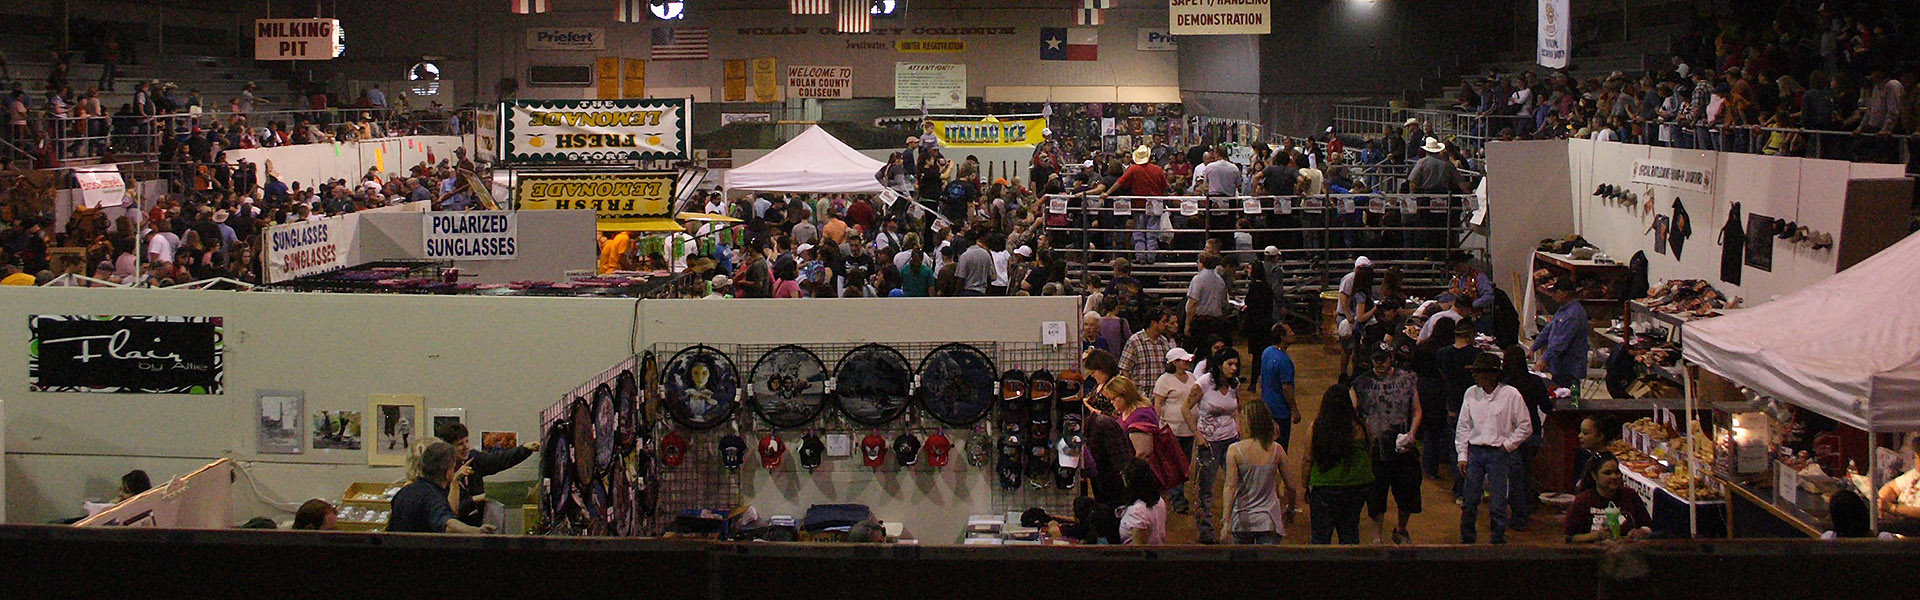
You can also buy your own wide-format printer and ink and paper. This is an extremely expensive solution; ultimately, you’ll do better by using a service. Their quality is excellent, they cost less than printing on your own and they have different types of paper. For example, I had a night picture of the coliseum that I printed as a 16 x 20 on metallic paper, and that shot had the coolest glow in the illuminated arches . . . it was a really good photo, but the paper made it an awesome print.
Frames
There are several good options for displaying panoramas. I encourage you to wander through the frames sections of Hobby Lobby, Michaels, Garden Ridge and other arts and crafts stores. While you’re at it, sign up for their email lists and put their free applications on your phone. These places offer big discounts on their frames regularly, along with weekly coupons. You will save a LOT of money if you watch the sales and coupons and time your purchases accordingly.
I also suggest that you do this research BEFORE ordering prints. It will help you to order prints more efficiently if you already know the size of the frames you will put them in.
You will be amazed at the variety of frames. First, they offer panorama frames. That’s the most obvious choice. You can find them in various sizes, and a limited number of aspect ratios. I have also seen frames that have mats in them. The mats are cut for standard sized prints but the frame itself is panoramic. If you throw away the mat you have a great frame for your panorama print.
Next, I suggested a couple ways to print panoramas on regular sized prints. You can get BIG frames – 11 x 14, 16 x 20, even 20 x 30 – really cheap if you watch the sales. The only downside to this approach is that you have to dedicate a large amount of wall space to your display.
More Display Ideas
A few more display options. Most photo albums are set up with 8.5” x 11” pages and pockets for standard size prints. However, scrapbook albums have 12” x 12” pages that you can fill however you’d like. I encourage anyone who wants to put books of their photos together to use the scrapbook approach rather than standard photo albums. The larger pages provide a much more flexible display canvas for your art, and you can caption your pictures, title your pages, even include other things (ticket stubs, etc.) in your display. All this to say, scrapbooking is better than photo albums. Scapbooking isn’t just for moms to store their kids’ pictures; it’s a terrific way to keep your photo collection.
You can buy scrapbook albums, paper, sheets, glue and about a billion different page accessories at craft places like Michaels, Hobby Lobby and Garden Ridge, or at online retailers like scrapbooks.com or scrapyourtrip.com - I have purchased from all of these retailers. One suggestion on the albums: You can get albums that hold the pages with straps or with posts. I have found that the posts are easier for me to work with and I can usually find a better variety of albums and page sheets that use posts. That's just a personal preference; either type will work just fine.
Web pages offer a great way to display your panoramas. Your computer screen is probably set up in a 16 x 9 format, meaning for every 16 inches wide it is, it is 9 inches tall. That is a widescreen, or panoramic, format. Panorama photos on web pages display very well on your screen.
Have a Facebook page? The cover photo on your profile is a panorama . . . good spot to show off your creations there!
I’m a web designer so I’ve never used sites like photobucket or other sharing sites. I can’t editorialize on that. One outstanding choice I can suggest is to use a program called Jalbum. This program creates photo albums that you can put online. They offer photo album hosting, or you can put your albums in your own webspace. I use Jalbum for the photos on Family Travel Photos – it’s a great program and a real time saver.
These are just a few of your choices for displaying panoramas. They are uniquely shaped photos and as such, don’t fit in the more commonly use display mechanisms. However, as you see here there are a lot of options to put your panoramas on display.
I hope you’ve found my tutorial on panoramas to be informative. If you have any more suggestions or ideas to improve this tutorial, please drop me a note!
Previous step: Stitch together your pictures with ICE — Return to tutorials index
Here are steps to creating panoramas:
- Prepare to shoot panoramas
- Shoot the pictures
- Transfer the pictures to your computer
- Stitch your pictures into a panorama
- What to do with your panoramas
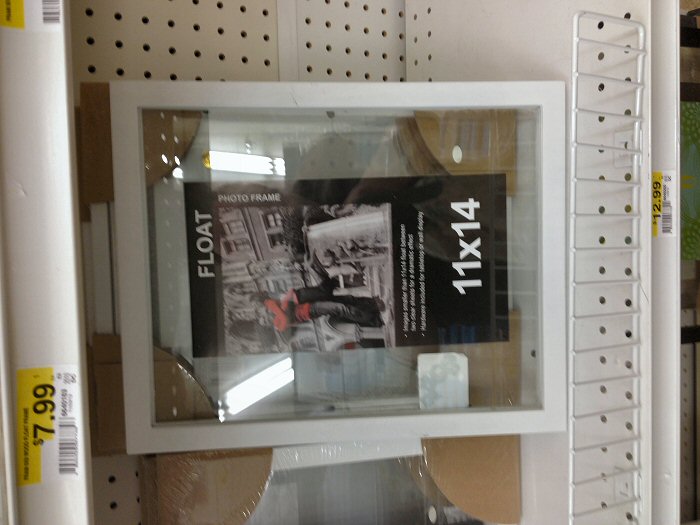
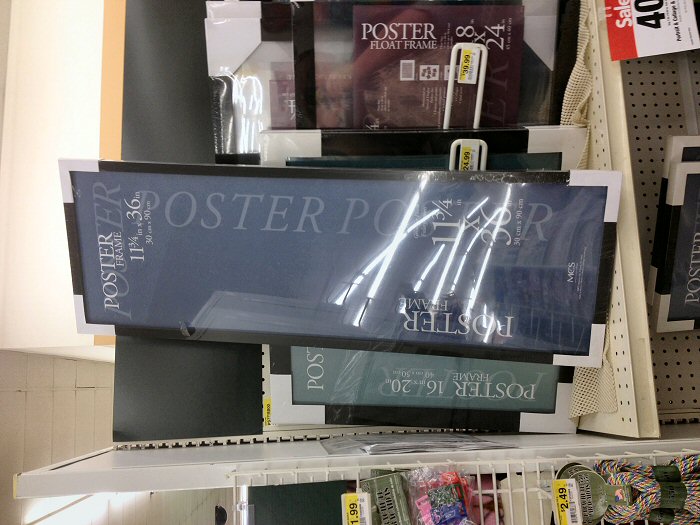
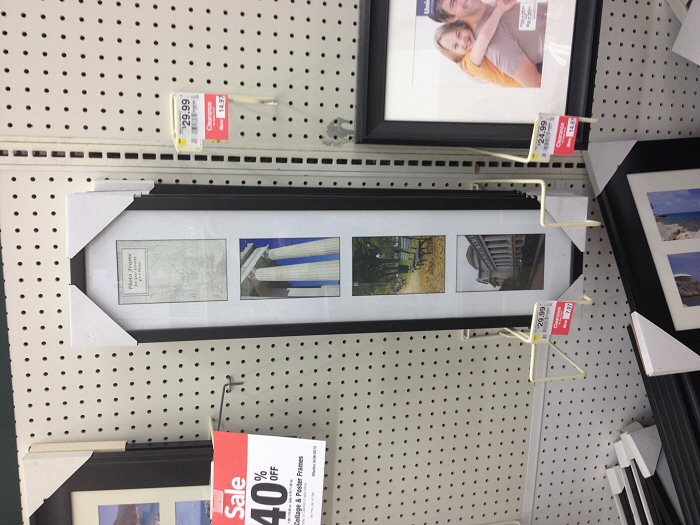
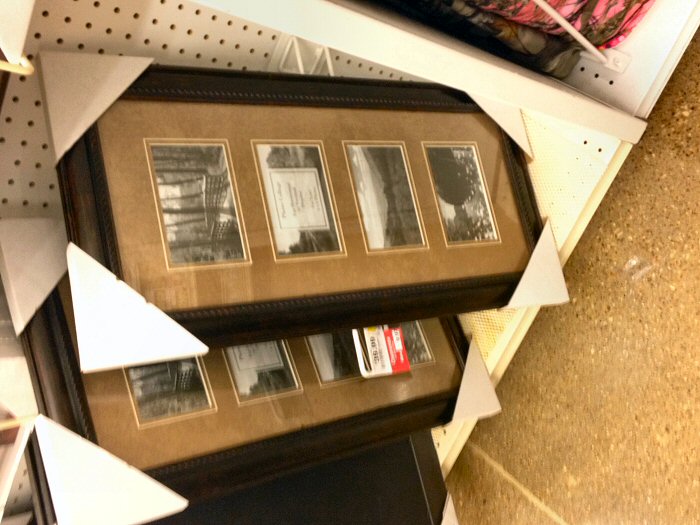
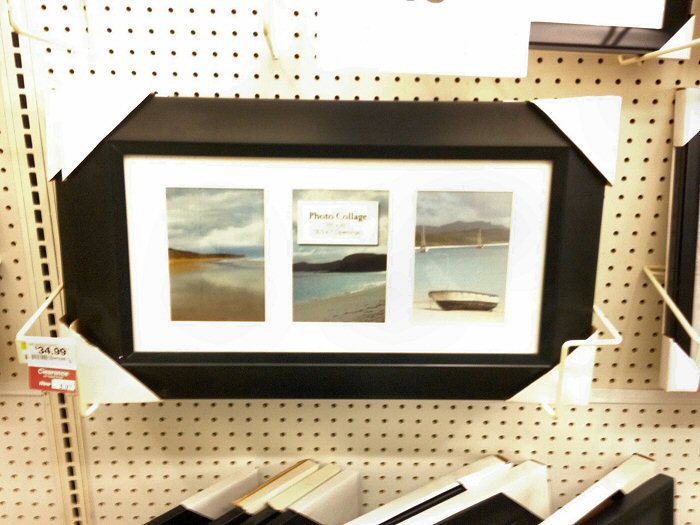
I stopped by a local JoAnns and found a few varieties of frames. In these pictures you will see several good options for displaying panoramas, including a clear glass display for a floating panorama, a panorama frame, and three examples of panorama frames with mats cut for standard size photos - just remove the mats and you have great panorama frames!
Please help me get more visitors to Family Travel Photos.com!